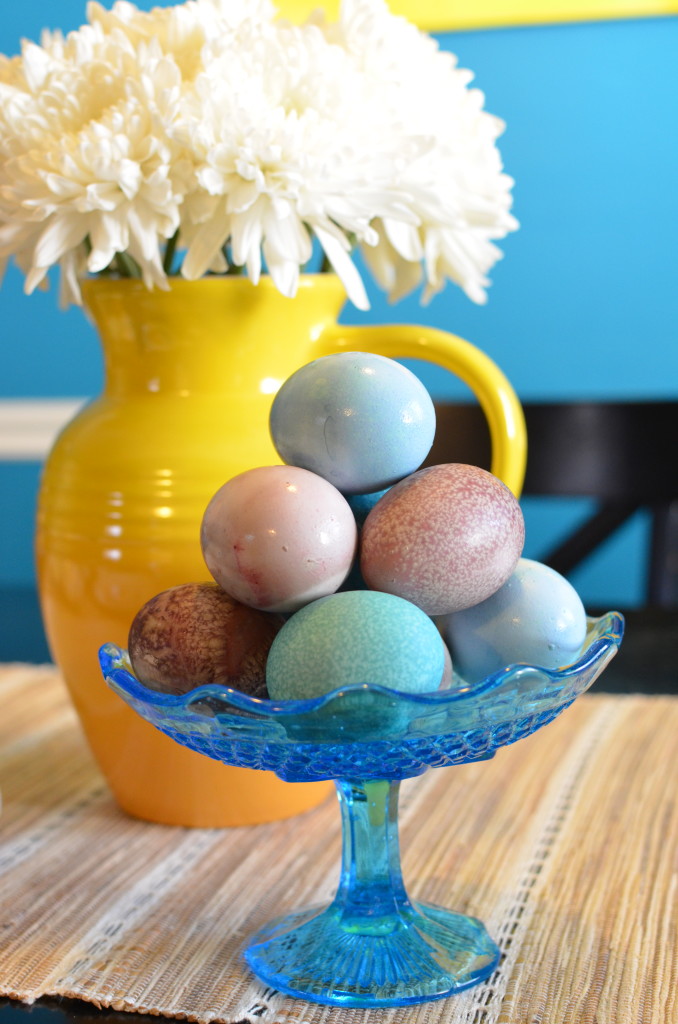
Have you ever wondered if there was a safer alternative to the chemical dyes for eggs?
I’m happy to tell you that there is and it’s incredibly easy to do! The best part is, all you need are hardboiled eggs, vegetables, water, and vinegar.
Naturally dyed eggs are incredibly gorgeous (waaaay prettier than the packaged dye in my opinion) and a work of art in themselves, as well as being completely safe. No longer do you have to worry about what chemicals are in the packaged dyes.
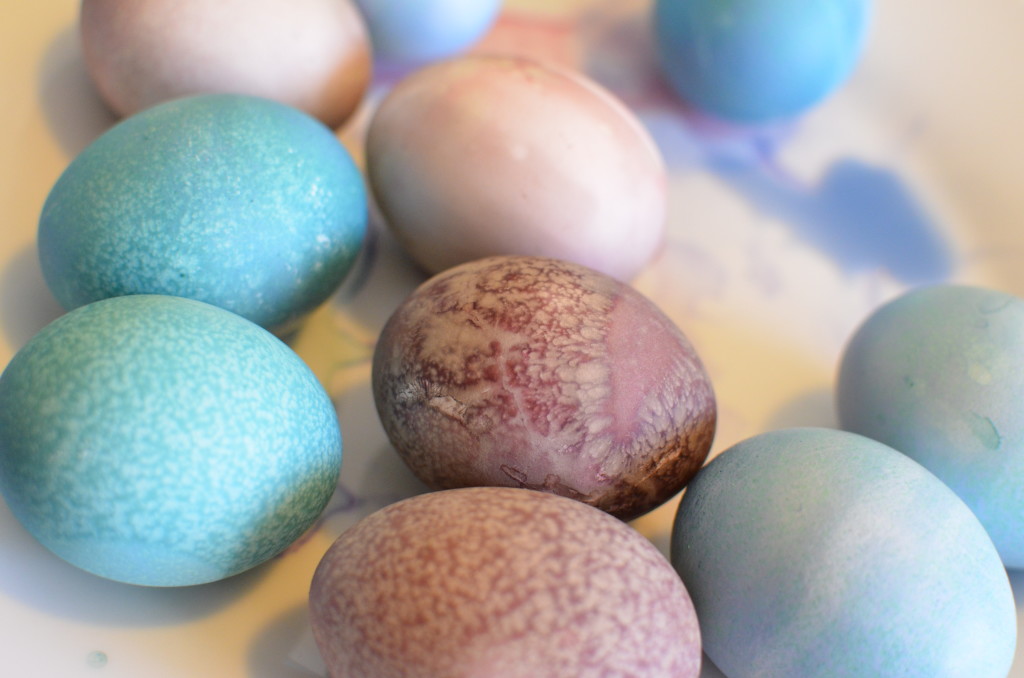
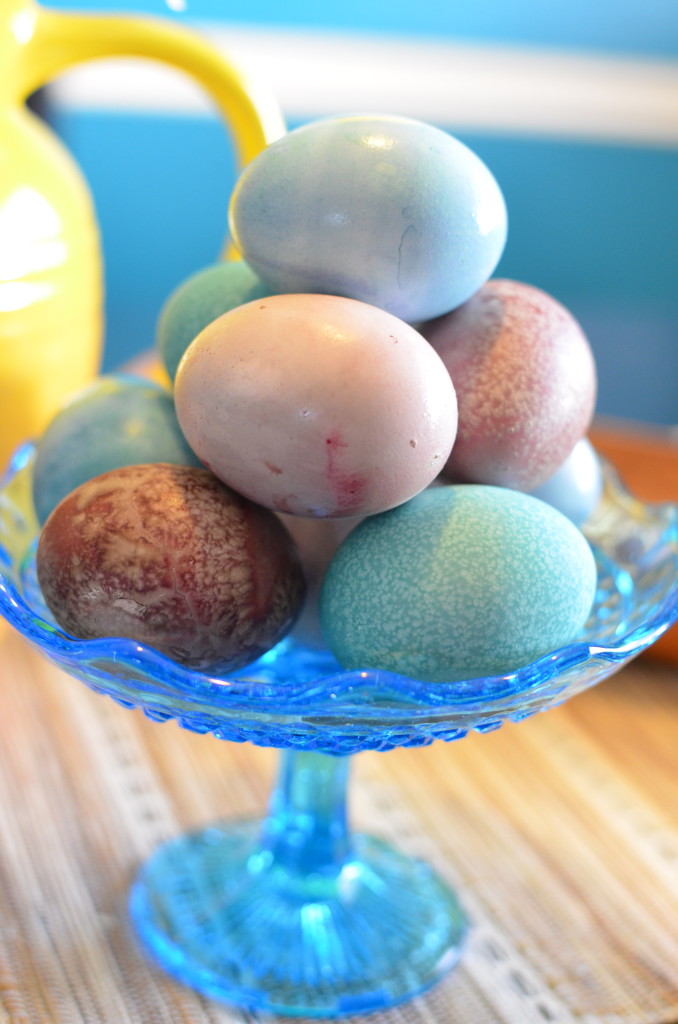
I will tell you, that the dyeing process does take a lot longer than the dye in the egg kits so be warned. The way the naturally dyed eggs come out is always surprising and are all different. You may have the same shade of color, but each egg has a different pattern.
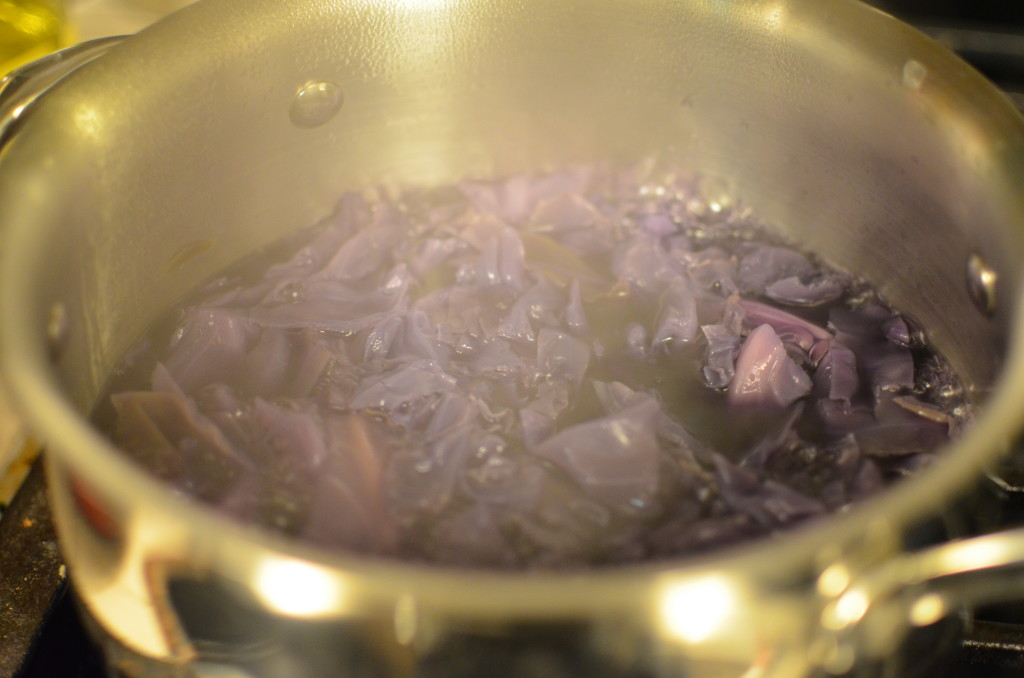
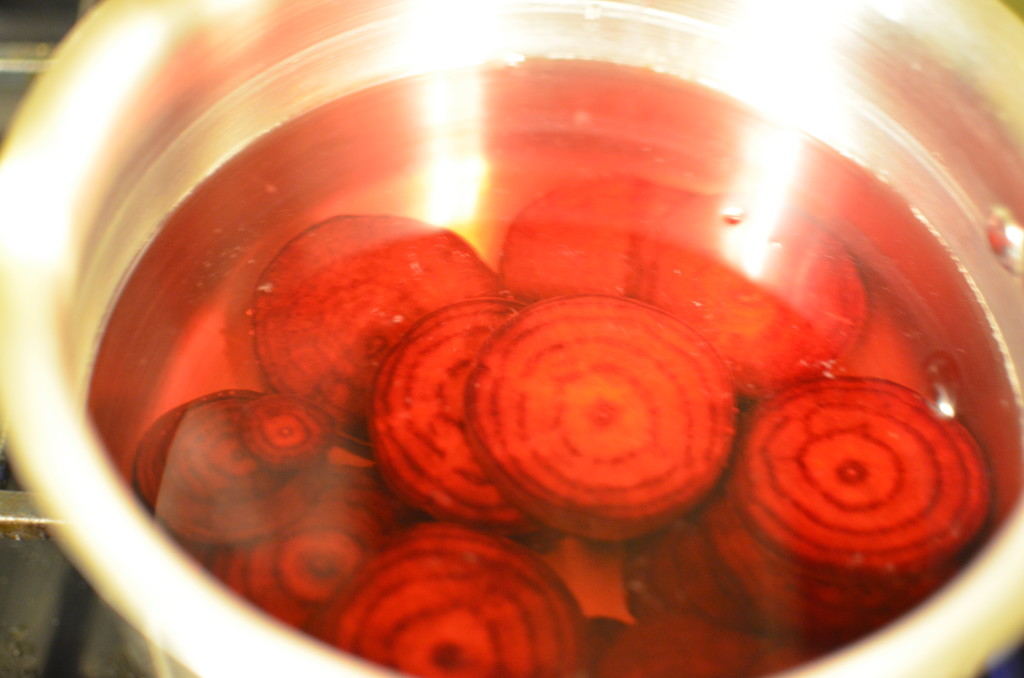
For these eggs, I used beets for the purple and purple cabbage for the blue. I’ve read you can use onion skins to give you an orange color, hibiscus a reddish purple, and spinach for green. The results may vary when using natural dyes so don’t be surprised if you get an unexpected shade from one of your vegetables. When I was dyeing wool with madder root, the results could range from a peach to a deep red depending on the root itself, how hot the water was, how long you let it boil, how long you let the wool soak, and so on. It’s the same with these vegetables so experiment a bit.
Purple = Beets (4 cups)
Blue = Red Cabbage (1 large cabbage)
Orange = Onion Skins (14 onion skins)
Reddish Purple = Hibiscus (2 cups)
Green = Spinach (4 cups)
Chop your vegetables up and place them in a pot with a quart of water. Bring to a boil and let simmer for an hour. The smell may be a bit strong, so open your windows if you can. My pup wasn’t too happy and sneezed a few times before I could air out the house.
It’s really amazing to see how fast the water turns color and the vegetables start to lose their color’s strength.
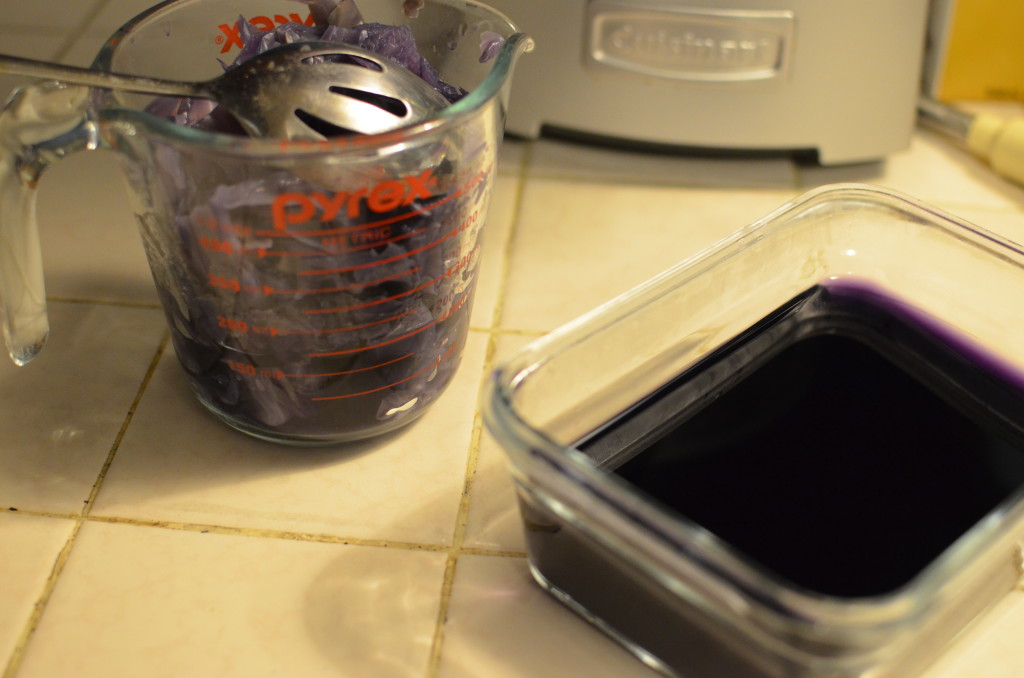
After an hour, turn off the heat and allow to cool. Once your dye has cooled, strain the vegetables out of the dye.
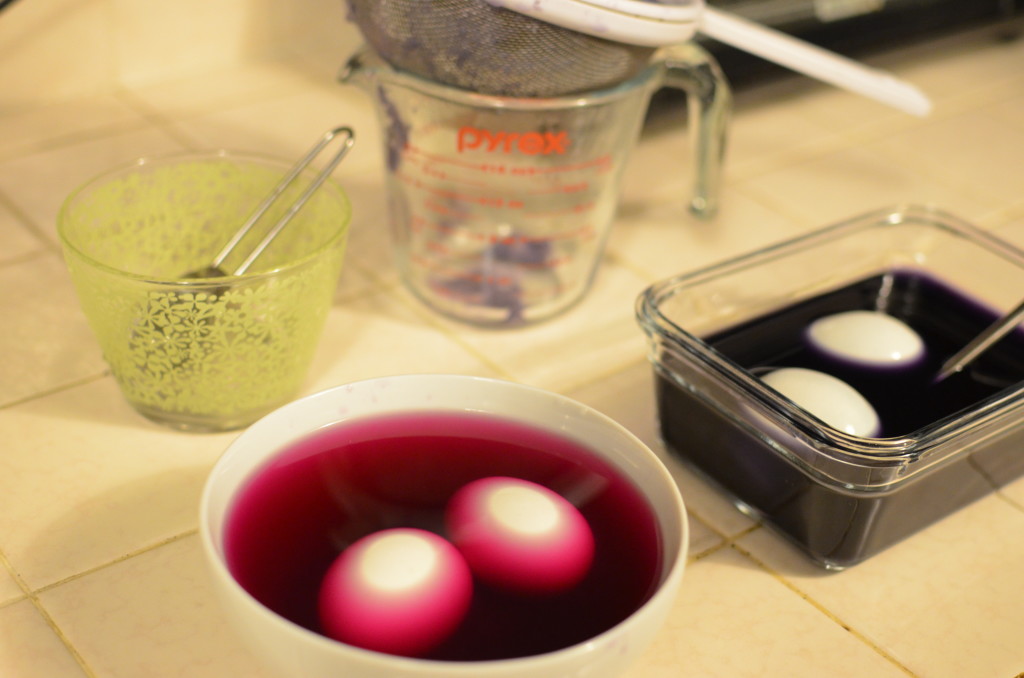
I experimented a little bit–I divided the colors up into two sets of each. One of each color had vinegar in it, the other was just the color from the vegetable (the two other bowls aren’t shown).
If you’d like to use vinegar, add 2 Tablespoons to your color. The vinegar is to strengthen the brightness of the color.
Into the colors my hardboiled eggs went!
I let the eggs sit in the dye for 7 hours while in the fridge then took them out to dry. I did this so I could build up the coloring. After they dried, I put them in the dye in the fridge again overnight.
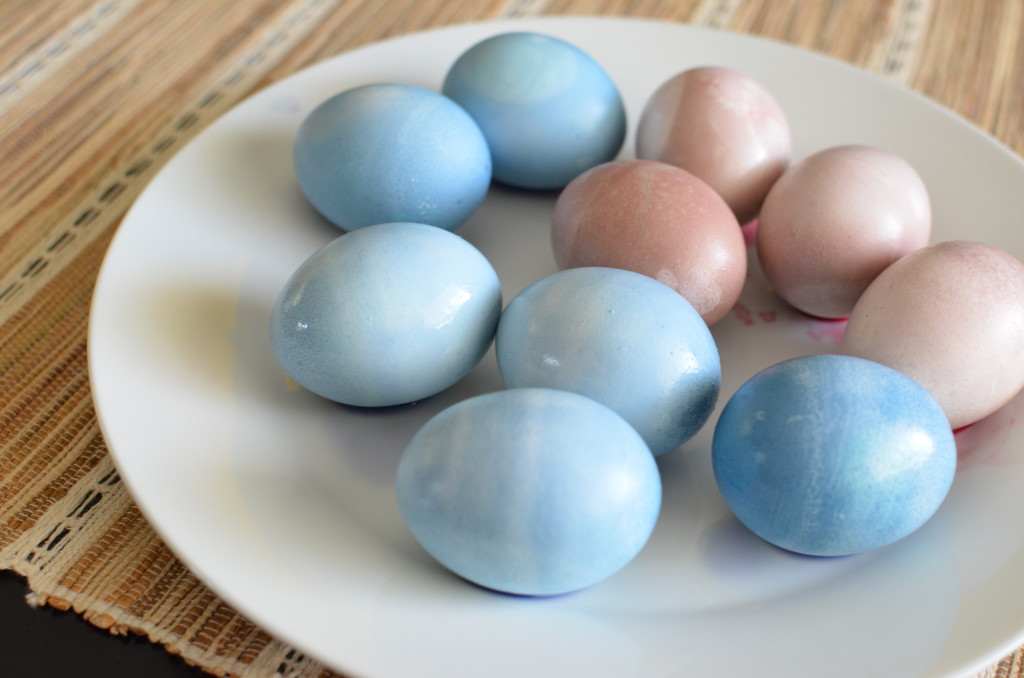
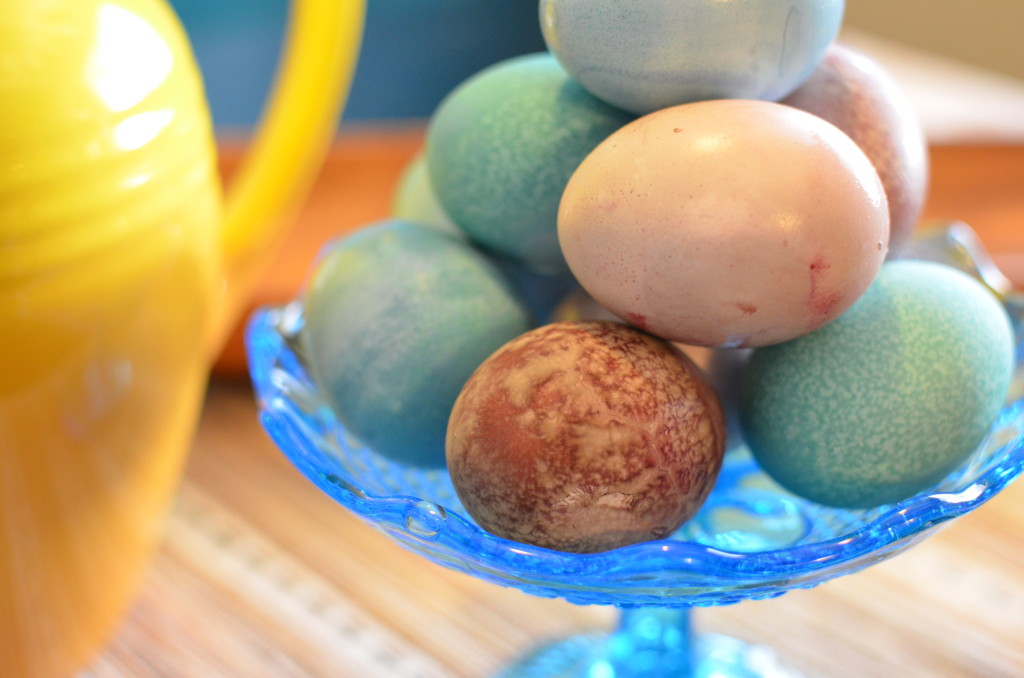
Here are the final results!
As you can see, naturally dyed eggs are uniquely beautiful. While they might take a while, they’re easy to do and it’s fun to involve the whole family. Each egg comes out with its own signature and that only adds to the beauty. These eggs have no harmful chemicals you have to worry about and are a great way to learn about natural dyes from items you already have in your home.
Do you use natural dyes for your eggs or other projects? I’d love to hear about it or see pictures if you’d like to share! Leave a comment for me down below or send me a tweet @apronwarrior 😀
Have a great holiday!
I had a lot of fun doing this and will defiantly be trying out more natural colors next year!
Latest posts by ApronWarrior (see all)
- My Thoughts on Tomorrow’s Cochlear Implant Surgery - April 19, 2022
- Spicy Scalloped Yams - January 22, 2022
- The Best Hot Cocoa - December 12, 2021
Leave a Reply